
 Oddly enough, the whole idea of this project started when we were hanging out at Loren & Beata’s house. After dinner, the whole gang decided to watch the latest episode of Downton Abbey and I was about ready to shoot myself. Then I found a book by Ana White lying around and the wit of Maggie Smith became a background drone. The book was filled with woodworking projects that could be done around the house and a sewing table project piqued my interest.
I like furniture to just fit. That’s why I love building our own furniture so much, because I can measure everything and make it fit our house perfectly. Here was Andrea’s current setup for her sewing:

Yes..I know. It’s a sad, old computer cart that drove me crazy because it was clunky and stuck out the corner wasting a lot of space. Also, I hate clutter and Andrea tends to have some sort of “organized clutter” system that I will never understand.
So I got cracking…although Ana White gave me the initial idea of the table, I changed all the dimensions to fit our home since we live in a small townhouse and don’t have that much room. Here were my initial plans that I sketched out.

The book suggested using MDF panels which I never used before so I figured to give it a try. Below were my plans for ripping up the panel. I moseyed on into Home Depot, pointed at my chicken scratch, mumbling something about building a table, and luckily I had everything cut correctly the first time. The guy at Home Depot asked me if I was building some suped-up home theater system. I quickly muttered ‘er…it’s a sewing table…for my wife.”

Here was the initial stage of assembling the boards together.

I always felt the urge to eat Cheerios working around these MDF panels; I think it was because they smelled like big cereal boxes.

I used pocket holes to attach the boards together, another first!

After I was done drilling the pocket holes and screwing the joints, I filled the pocket holes with wood putty.

I did most of my work on the table in this position, upside-down.

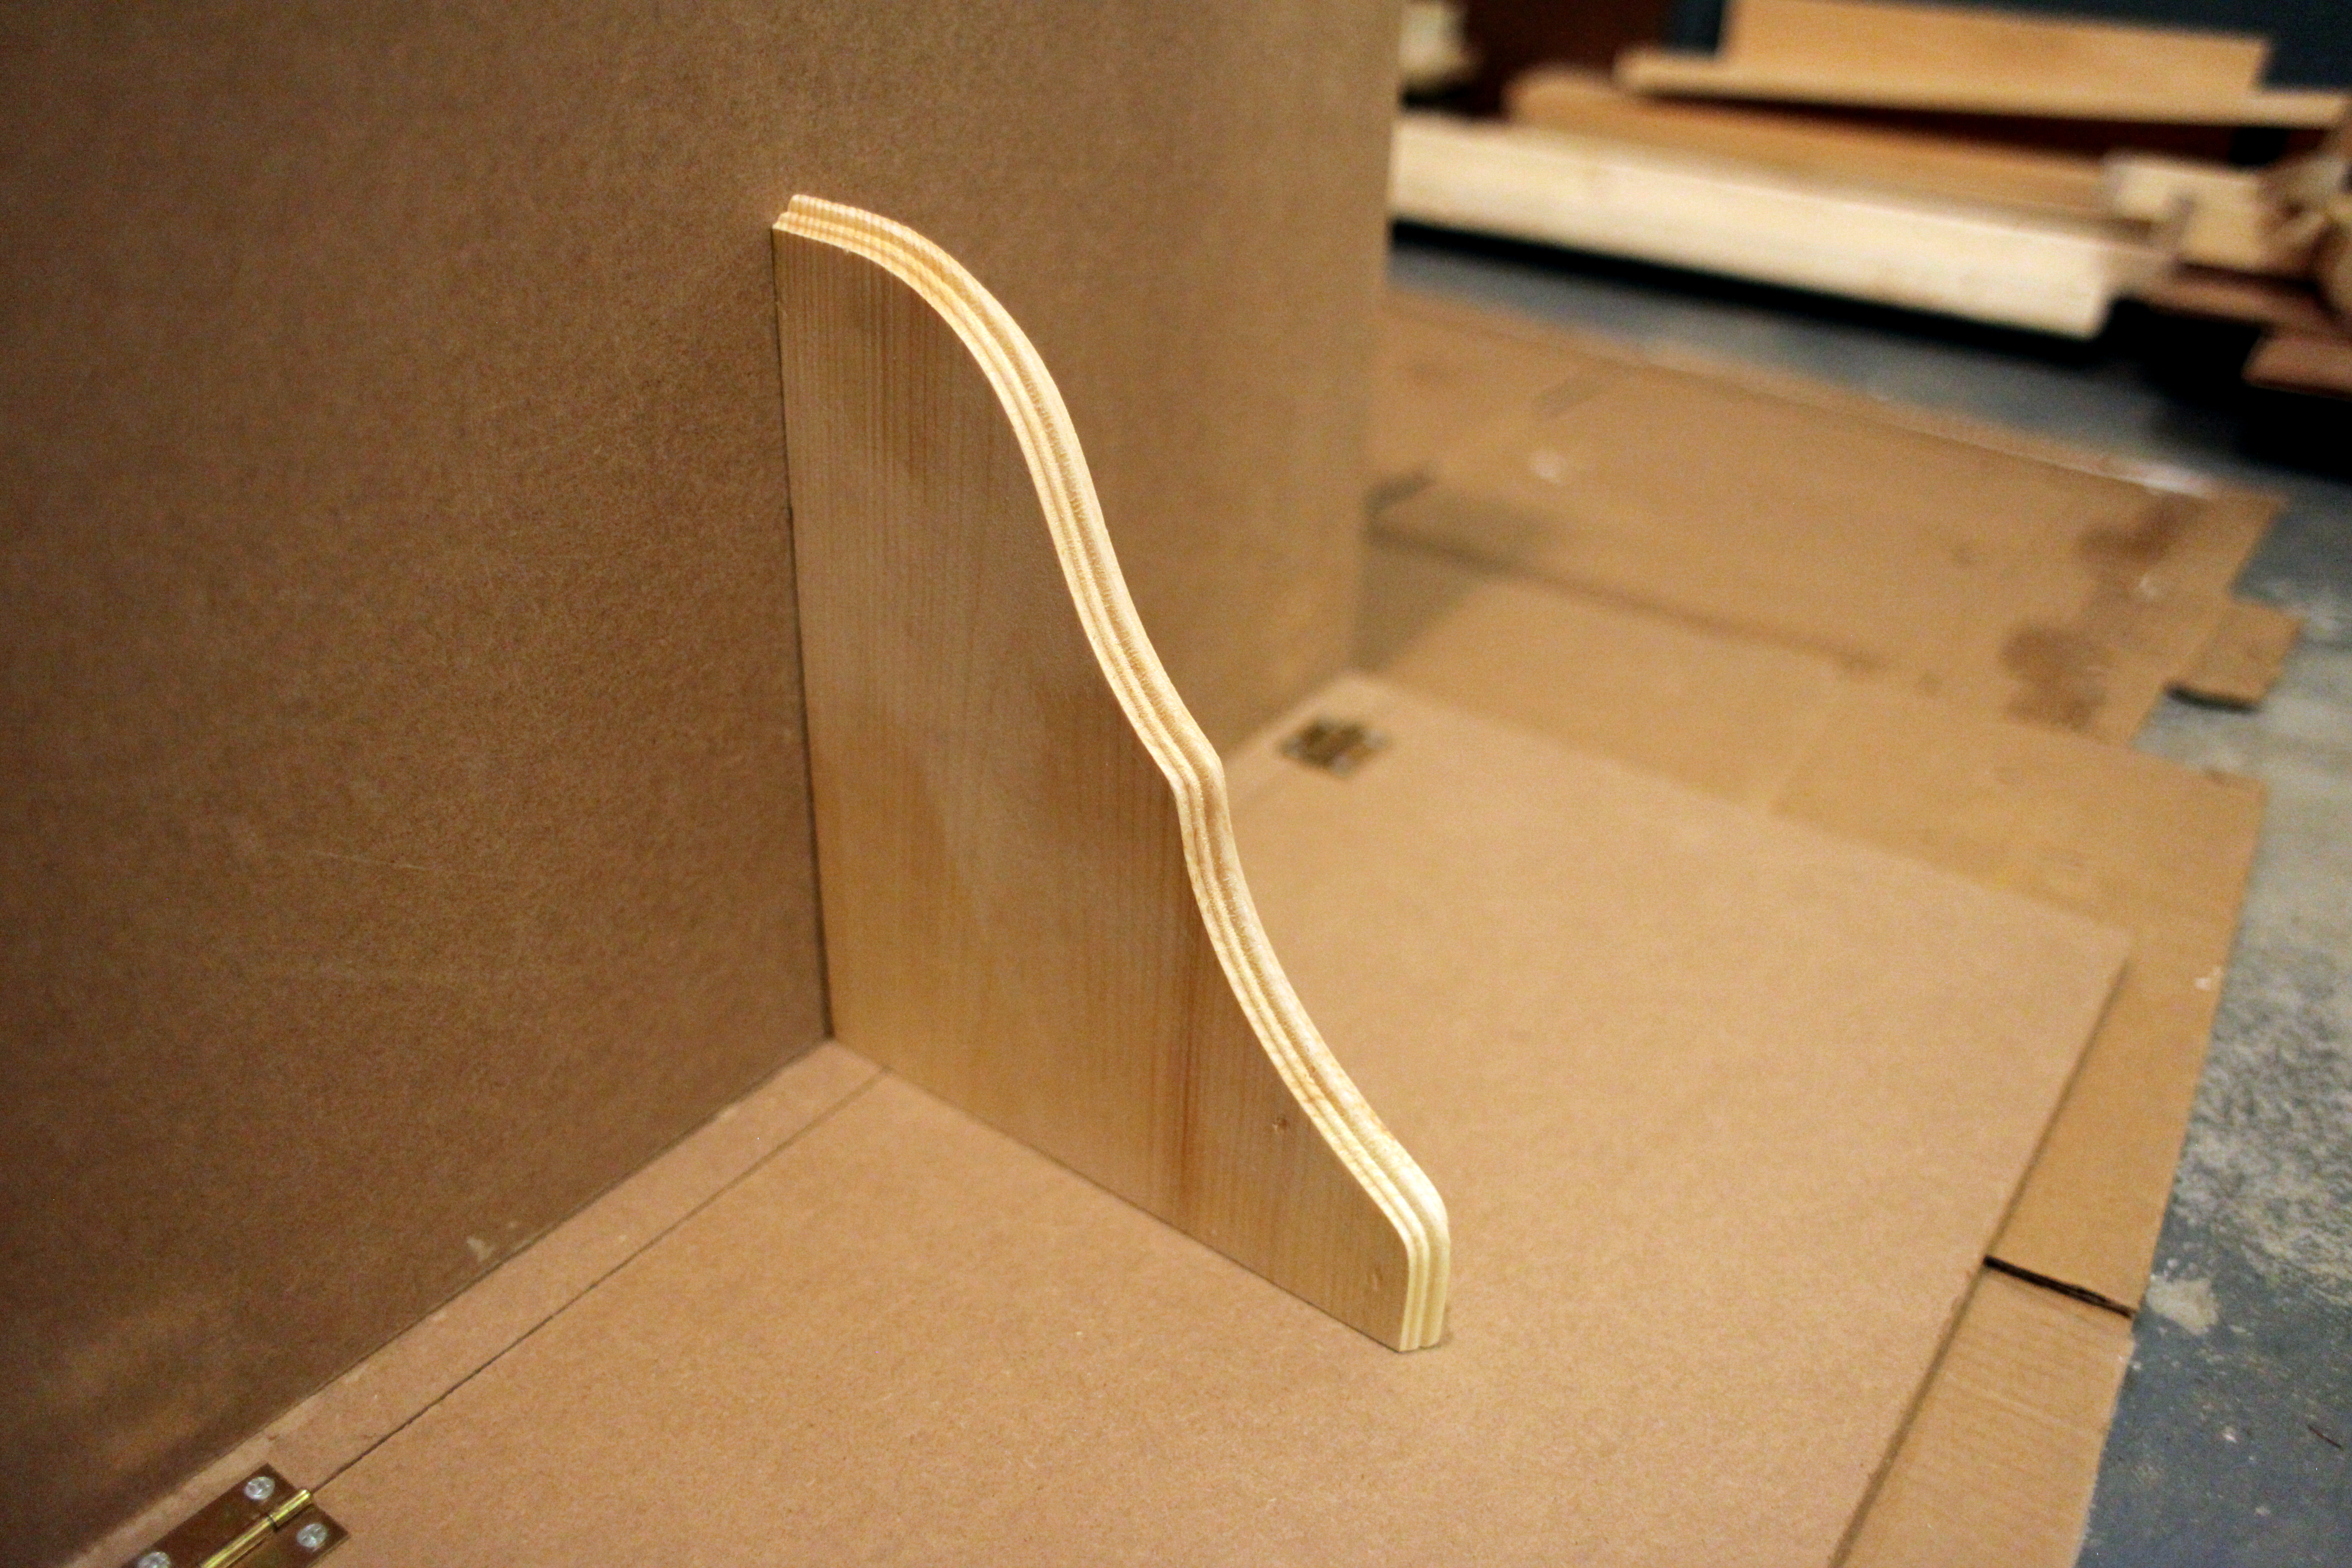
I picked up a couple of cheap wood brackets from Home Depot. These would hold up the table leaves when in use. The original plans from the book called for wooden table legs but I figured these would look better and allow more room to move around while sewing.
Next step, priming the table for paint.

Priming the table leaf brackets.

First coat of paint!

Attaching the wheels.

I went with the slightly more expensive rubber wheels. The computer cart had plastic wheels that I hated because they would scratch up my floors. Rubber or plastic, it doesn’t matter, everything’s made in china.

Next step, paint the table top.

Priming the top.

First coat of paint all done!

Second coat of paint done!

Adding protective gloss on the table top.

The painting took longer than the actual assembly. Since I was painting in February, the garage was freaking cold so I had to use a blow dryer between coats to get the paint to dry. Below, my weapons of choice.

Close ups of the hinges and brackets I used.

I made sure in designing the shelf space that it would fit these Martha Stewart fabric drawers perfectly.

The sewing table in all her winged glory!

Plenty of space for a sewing machine and fabric, but also not too big for our place. Andrea was worried the table leaves would not be able to support much weight but my engineering proved her wrong. They are very stable and can support the full weight of the sewing machine.

Seeing the table tucked away makes me so happy. Here are my favorite features of the table.
- Fits in the corner so conveniently
- Doesn’t get in my way as I walk by frequently
- Rolls around as smooth as butter
- Hides Andrea’s ‘organized clutter’


i’m totally with andrea on the organized clutter. awesome sewing table though, well done ben 🙂
wow, i am super impressed! And i love ana white, i read her website all the time and built a bench using one of her plans. btw, i love that you built your wife something. in our household, I do all the construction. I just nudged Jeff and asked him “did you know ben built andrea a sewing table? hint, hint”.
Making up for all the shoveling that your wife did for you? =P
Wow! This is awesome!
You did a really nice job, and I like the way you adapted the original design to suit your needs.
Ok I LOVE the idea of the wood brackets instead of legs… You’re a genius!
How is the MDF holding up for you? I was told it doesn’t do well with screws. Did you use glue in addition?
I just found your project through Ana’s site. Great job, and fantastic mod using brackets. Your plan solves for at least two issues I was trying to noodle out: I want my table to be counter-height, so I can use it as a cutting table. To save space, I’ll be making the dimensions of the fixed top smaller. Also, my table needs to be longer to accommodate large pieces of fabric. I think I can do that with your brackets AND legs, to give extra stability to the extensions. You’ve inspired me!